🐧 juce development on linux
Arch Linux / EndeavourOS install
-
yay -S juceThis seems to install JUCE to/usr/share/docs/juceand/usr/share/juce, comes with Projucer, but doesn’t include examples. Therefore lets manually install them: git clone https://github.com/juce-framework/juce <install_directory>- Change to the directory, and build the examples using:
cmake . -B cmake-build -DJUCE_BUILD_EXAMPLES=ON -DJUCE_BUILD_EXTRAS=ON-
cmake --build cmake-build --target DemoRunner(DemoRunner seems to crash straight away on my PC – lets ignore this for the moment 😂) - [Optional] Point Projucer to the repository files rather than the defaults
File > Global Pathsthen choose where you’ve installed the JUCE git repository - Projucer should now see the examples
Setting up a JUCE Projects
- Use Projucer to create a new audio plugin
- Open the project in VS Code
- Import
.vscodeand.gitignore, stored here- Inspiration comes from catman85/juce-plugin-template-vscode
- Additionally icq4ever/emptyJUCEProject
- Maybe look at WolfSound’s setup one day.
- Make debug using
ctrl-shift-band selectBuild debug - Run the standalone by
./Builds/LinuxMakeile/builds/<project_name>
Tutorial: Create a basic Audio/MIDI plugin, Part 1: Setting up
Source Tutorial: @ JUCE Docs
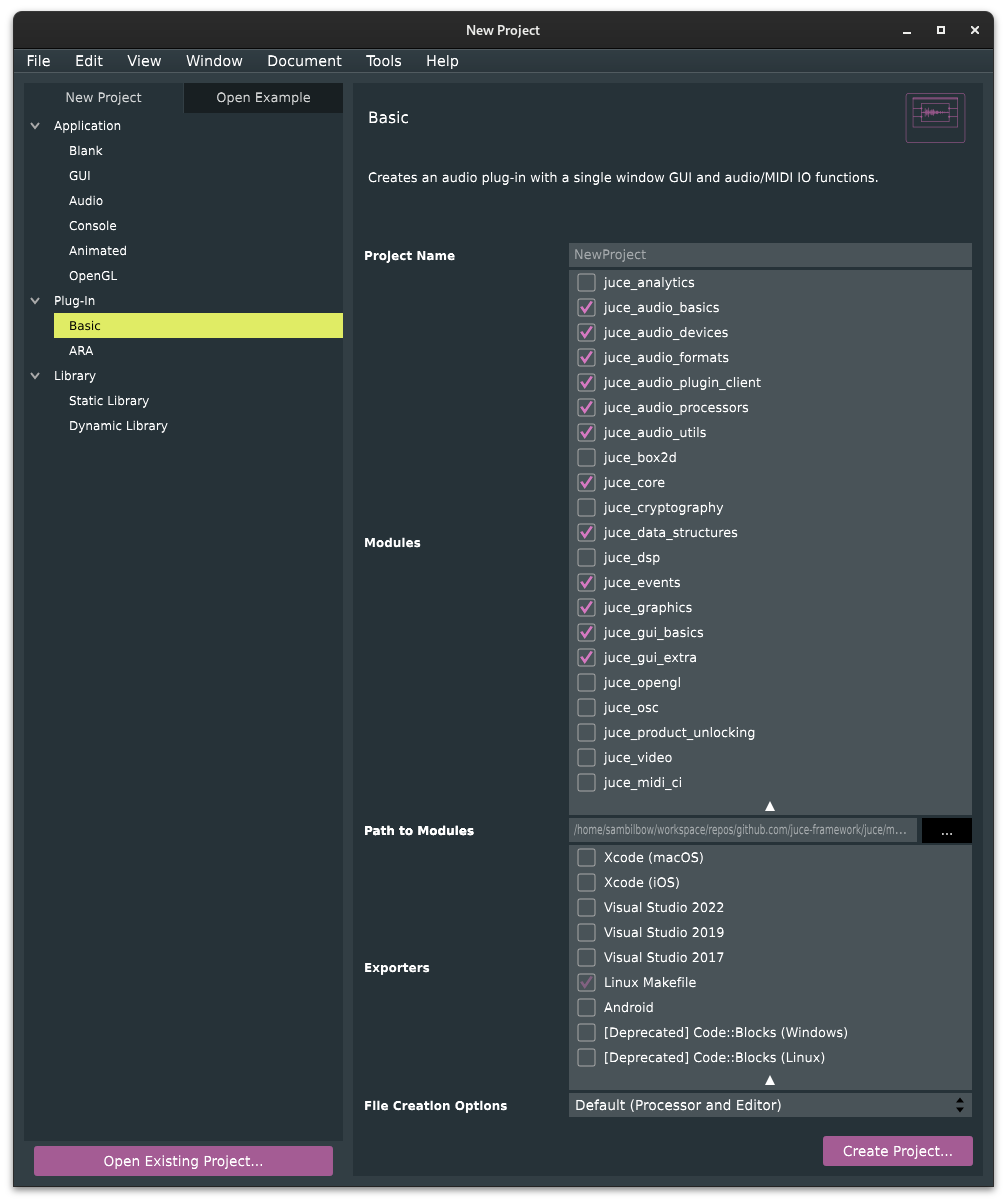
- Create a new Projucer project
- Select Plugin MIDI Input/Output under project settings
- Save
- Open it in VSCode
- Follow previous section for setting up the VSC project
- Build the debug target (
ctrl-shift-b)
AudioPluginHost
- Install dependcies (
yay -S ladspa) - Navigate the build directory
cd ~/JUCE/extras/AudioPluginHost/Builds/LinuxMakeFile - Make the app
make - Run the app
./build/AudioPluginHost - Double click and sort out Audio Input (it probably looks like a mess thanks to PA/PW etc.)
Add our Demo Plugin
- Options > Edit List > Options > Scan for New > OK
- Create New > yourcompany > JUCE Demo Plugin
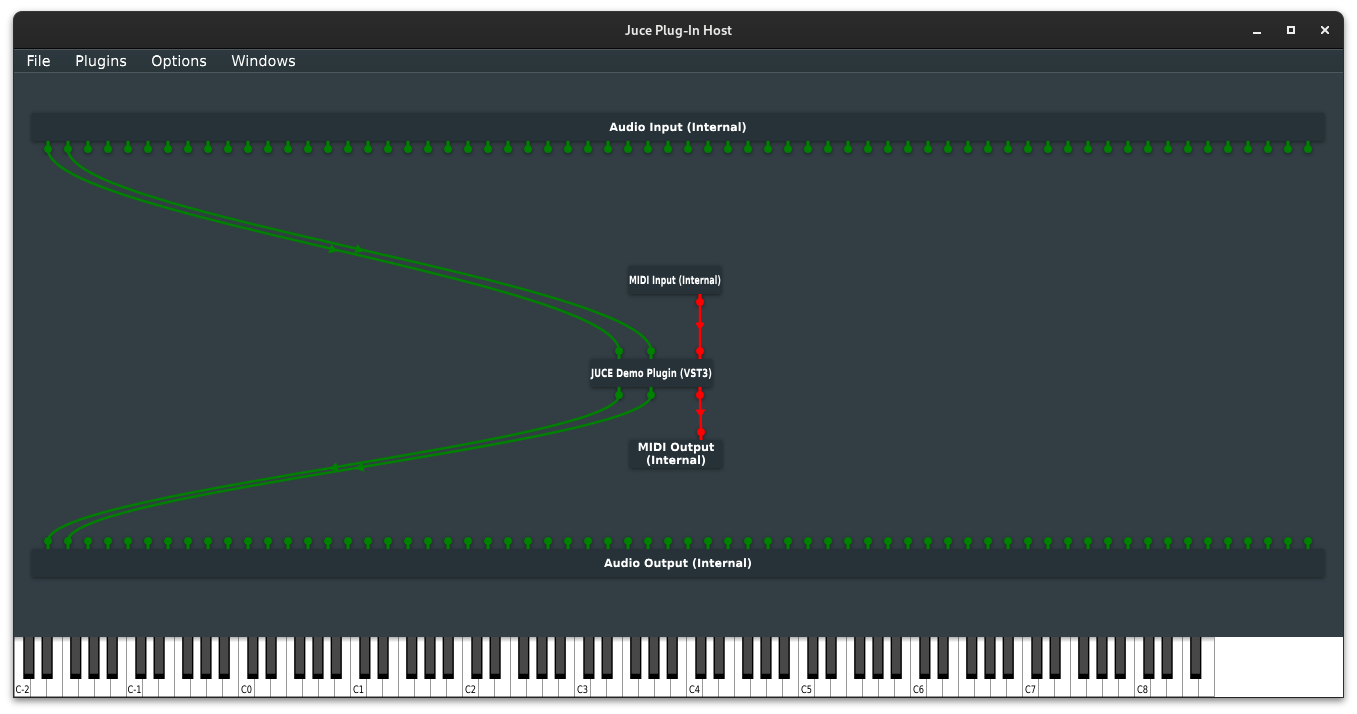
Tutorial: Create a basic Audio/MIDI plugin, Part 2: Coding your plug-in
Source Tutorial: @ JUCE Docs
Processor and Editor
“A newly-created audio plug-in project contains two main classes: PluginProcessor handles the audio and MIDI IO and processing logic, and PluginEditor handles any on screen GUI controls or visualisations.”
“When passing information between these two it is best to consider the processor as the parent of the editor. There is only one plug-in processor whereas you can create multiple editors. Each editor has a reference to the processor such that it can edit or access information and parameters from the audio thread. It is the editor’s job to set and get information on this processor thread and not the other way around.”
“The main function we will be editing in the PluginProcessor.cpp file is the processBlock() method. This receives and produces both audio and MIDI data to the plug-in output. The main function we will change in the PluginEditor.cpp file is the constructor, where we initialise and set up our window and GUI objects, and also the paint() method where we can draw extra controls and custom GUI components.”
MIDI volume slider
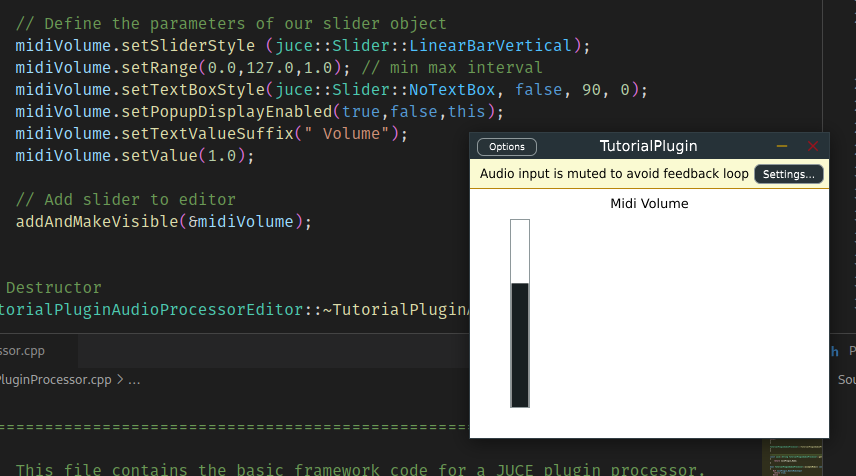
- Following the tutorial created a Midi Volume slider in the PluginEditor file.
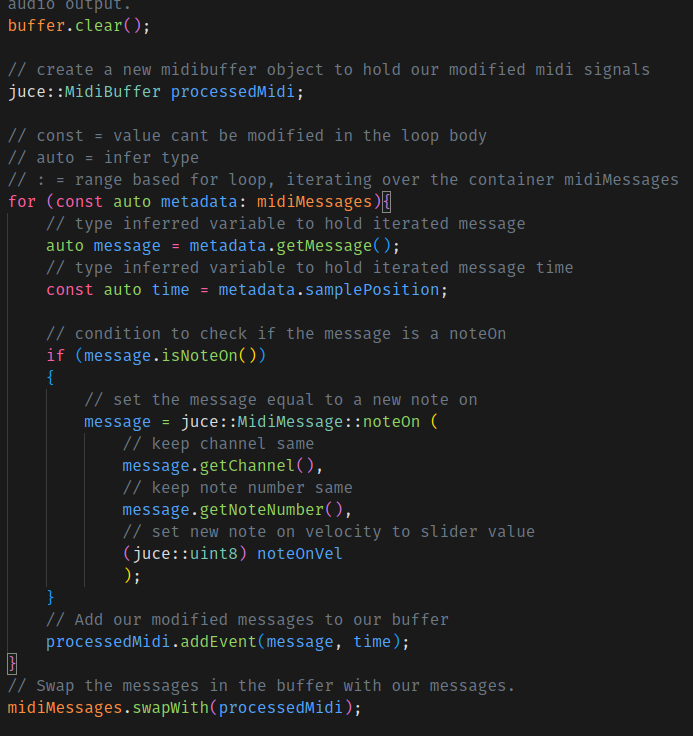
- We then added the functionality for this to have an effect on DSP/MIDI processes by adding a listener, and iterating through the midiMessages list and replacing messages with our volume slider value.
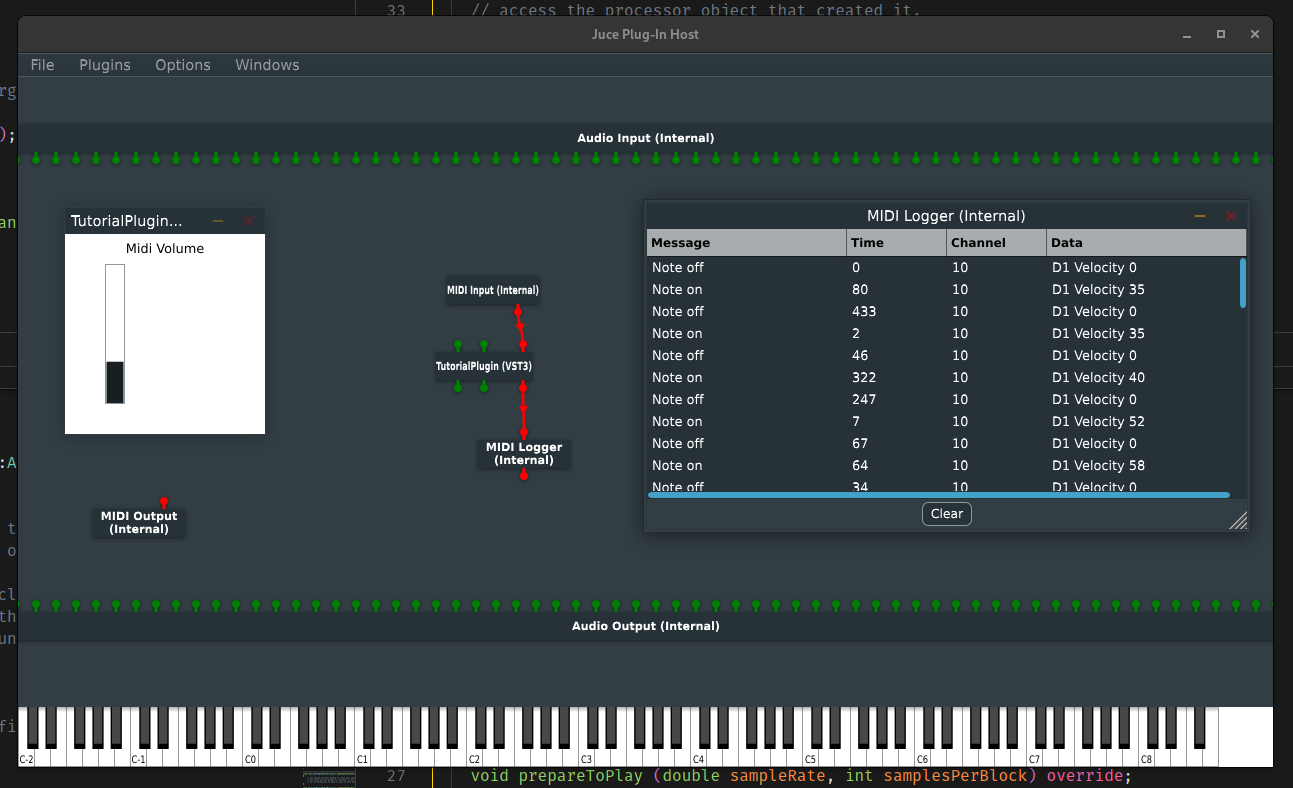
- We can see the changes by listening to the plugins MIDI out and passing it messages from a MIDI controller.
